Cattle, not pets: infrastructure, containers, and security in our new, cloud-native world


Pets

My employer has always lived on the cloud.  We started running on Google App Engine, and for the last decade, the platform has served us well.  However, some of our complex workloads required more compute power than App Engine (standard runtime) is willing to provide, so it wasn’t long before we had some static servers in EC2.  These were our first ‘pets’.  What is a ‘pet’ server?

In the old way of doing things, we treat our servers like pets, for example Bob the mail server. If Bob goes down, it’s all hands on deck. The CEO can’t get his email and it’s the end of the world.
– Randy Bias and Bill Baker

If you were a sysadmin any time from 1776-2012, this was your life.  At my previous employer, we even gave our servers hostnames that were the last names of famous scientists and mathematicians.  Intentional or not, you get attached, and sometimes little fiefdoms even arise (“Oh, DEATHSTAR is Steve’s server, and Steve does not want anyone else touching that!”).
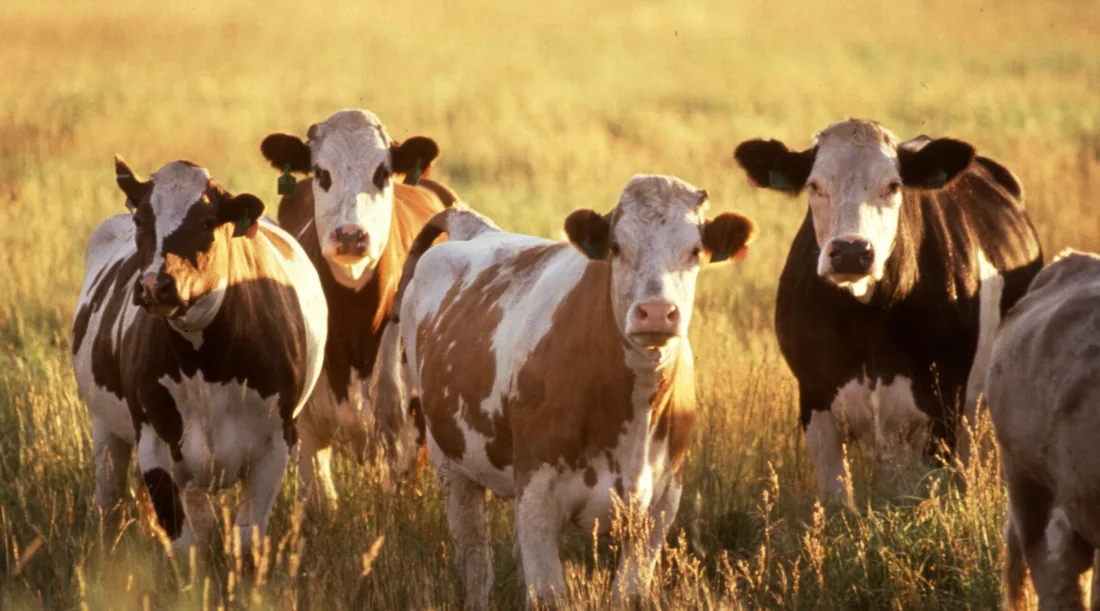
Cattle, not pets

In the new way, servers are numbered, like cattle in a herd. For example, www001 to www100. When one server goes down, it’s taken out back, shot, and replaced on the line.
– Randy Bias and Bill Baker

As we grew, it became obvious that we needed a platform which would allow us to perform long-running jobs, complex computations, and maintain a higher degree of control over our infrastructure.  We started the dive off of Google App Engine and are now invested in Kubernetes, specifically using the AWS Elastic Kubernetes Service (EKS).  Those static servers in EC2 that I mentioned are also coming along for the ride, with the last few actively undergoing the conversion to running as containers.  Soon, every production workload we have will exist solely as a Docker container, run as a precisely-managed herd.

Running a container platform

Kubernetes isn’t necessarily trivial to run.  Early on, we realized that using AWS Elastic Kubernetes Service (EKS) was going to be the quickest way to a production-ready deployment of Kubernetes.

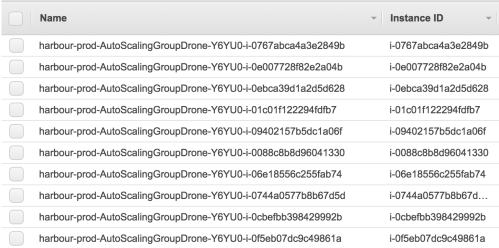
In EKS, we are only responsible for running the Nodes (workers). The control plane is entirely managed by AWS, abstracted away from our view.  The workers are part of a cluster of systems which are scaled based on resource utilization.  Other than the containers running on them, every single worker is identical to the others.

… and so on, for a long, long while. It’s a riveting read.

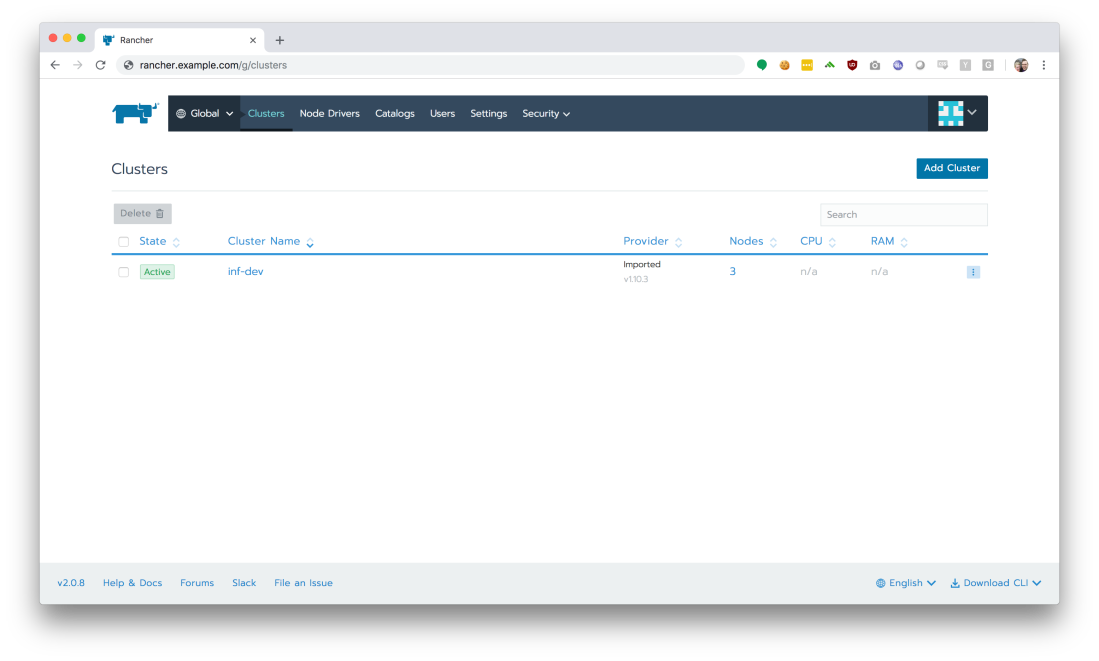
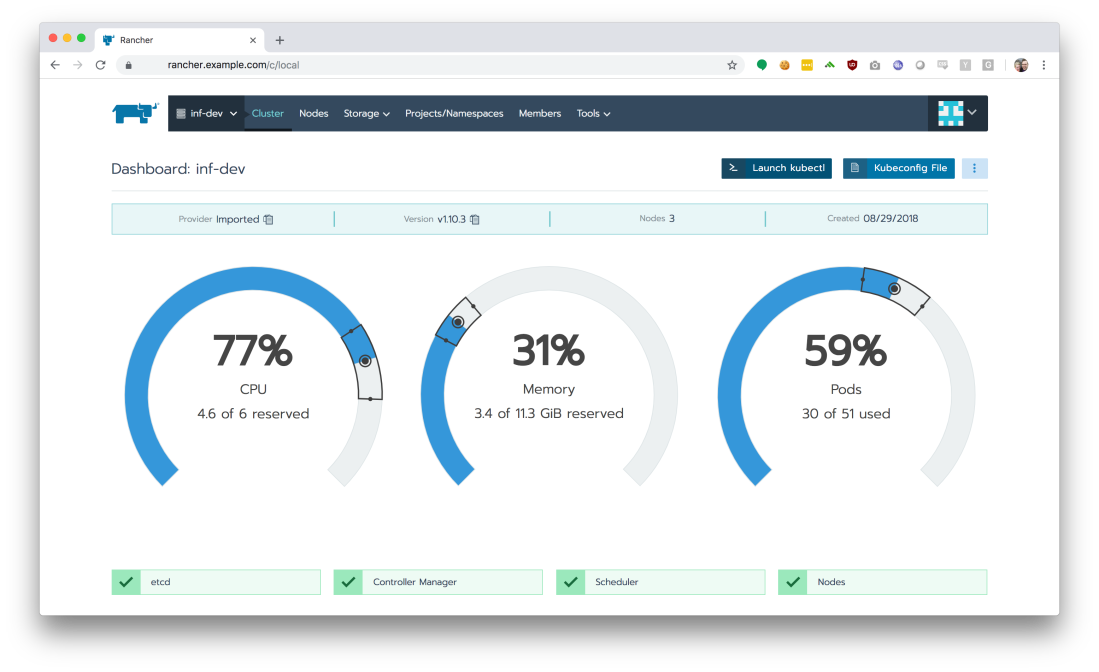
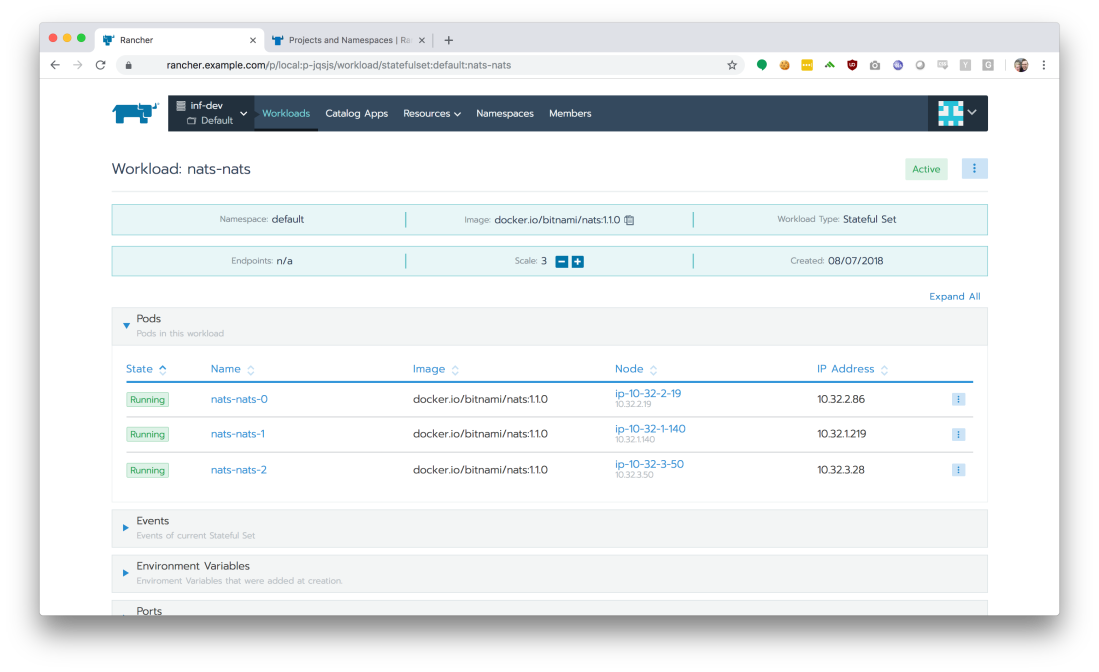
We use Rancher to help us manage our Kubernetes clusters.  Rancher manages our Cattle.  How cheeky.

Managing the herd

The rest of this blog post will be primarily dedicated to discussing how we build and manage our worker nodes.  For many organizations (like ours), the option does not exist to simply use the defaults, as nice as that would be.  A complex web of compliance frameworks, customer requirements, and best-practices means that we must adhere to a number of additional security-related controls that aren’t supplied out-of-the-box.  These controls were largely designed for how IT worked over a decade ago, and it takes some work to meet all of these controls in the world of containers and cattle.

So how do we manage this?  It’s actually fairy straightforward.

Building cattle

  1. Each node is built from code, specifically via Hashicorp Packer build scripts.
  2. Each node includes nothing but the bare minimum amount of software required to operate the node.  We start with EKS’ public packer build plans (thanks AWS!) and add a vulnerability scanning agent, a couple monitoring agents, and our necessary authentication/authorization configuration files.
  3. For the base OS, we use Amazon Linux 2, but security hardened to the CIS Level 1 Server Benchmark for RedHat (because there is no benchmark for AL2 at this time).  This took a bit of time and people-power, but we will be contributing it back to the community as open-source so everyone can benefit (it will be available here).
  4. This entire process happens through our Continuous Delivery pipeline, so we can build/deploy changes to this image in near real-time.

Running cattle

  1. At least weekly, we rebuild the base image using the steps above.  Why at least weekly?  This is the process by which we pick up all our OS-level security updates.  For true emergencies (e.g. Heartbleed), we could get a new image built and fully released to production in under an hour.
  2. Deploy the base image to our dev/staging Kubernetes environments and let that bake/undergo automated testing for a pre-determined period of time.
  3. At the predetermined time, we simply switch the AWS autoscaling group settings to reference the new AMI, and then AWS removes the old instances from service.

Security, as code

My role requires me to regularly embarrass myself by being a part of customer audits, as well as being the primary technical point of contact for our FedRAMP program (which means working through a very thorough annual assessment).  This concept of having ‘cattle’ is so foreign to most other Fortune 500 companies that I might as well claim we run our software from an alien spaceship.  We lose most of them at the part where we don’t run workloads on Windows, and then it all really goes off the rails when we explain we run containers in production, and have for years.  Despite the confused looks, I always go on to describe how this model is a huge bolster to the security of the platform.  Let’s list some benefits:

Local changes are not persisted

Our servers live for about a week (and sometimes not even that long, thanks to autoscaling events).  Back in my pentesting days, one of the most important ways for me to explore a network was to find a foothold and then embed solidly into a system.  When the system might disappear at any given time, it’s a bit more challenging to set up shop without triggering alarms.  In addition, all of our workloads are containerized, running under unprivileged user accounts, with only the bare minimum packages installed necessary to run a service.  Even if you break into one of these containers, it’s (in theory) going to be extraordinarily difficult to move around the network.  Barring any 0-days or horrific configuration oversights, it’s also next-to-impossible to compromise the node itself.

This lack of long-lived servers also helps bolster the compliance story.  For example, if an administrator makes a change to a server that allows password-based user authentication, the unauthorized change will be thrown away upon the next deploy.

When everything is code, everything has an audit trail

Infrastructure as code is truly a modern marvel.  When we can build entire cloud networks using some YAML and a few scripts, we can utilize the magic of git to store robust change history, maintain attribution, and even mark major configuration version milestones using the concept of release tags.  We can track who made changes to configuration baselines, who reviewed those changes, and understand the dates/times those changes landed in production.

Now what about your logging standards?  Your integrity checks?  Your monitoring agent configurations?  With pets, 1-5% of your servers are going to be missing at least one of these, either because of misconfiguration, or simply that it never got done in the first place.  With cattle, the configurations will be present, every time, ensuring that you have your data when you need it.

Infrastructure is immutable, yet updated regularly

In the “old” way, where you own pets, handling OS updates is a fickle process.  For Windows admins, this means either handling patches manually by logging in and running Windows Updates, or you run a WSUS server and test/push patches selectively, while dealing with the fact that WSUS breaks constantly.  On Linux, getting the right patches installed typically means some poor sysadmin logging into the servers at midnight and spending the next 2 hours copy/pasting a string of upgrade calls to apt, or shelling out a decent amount of cash for some of the off-the-shelf solutions available from the OS vendors themselves.  Regardless of the method, in most situations what actually happens is that everyone is confused, not everything is fully patched, and risk to the organization is widespread.

With cattle, we build our infrastructure, deploy it, and never touch it again.  System packages are fully updated as part of the Packer build scripts (example), and no subsequent calls to update packages are made (*note: Amazon Linux 2 does check for and install security updates upon first boot, so in the event of a revert to a previously-deployed build, you still have your security patches, though at the cost of start-up time).  What we end up with is an environment running on all the latest and greatest packages that is both reliable and safe.  Most importantly, servers aren’t going to be accidentally missed during patching windows, ephemeral OS/networking issues won’t leave one or two servers occasionally unpatched, and no sysadmins have to try and get all the commands pasted into the window correctly at 1:13 in the morning.

Parting thoughts

No pride in tech debt

While I know this whole blog post comes across with a tone of, “look what we have made!”, please make no mistake: I consider this all to be tech debt.  We have, and will continue to, push our vendors to bake in these features from day one.  I know that my team’s time is better spent working on making our products better, not on making custom-built nodes that adhere to CIS benchmarks.  When the day comes, we’ll gladly throw this work away and use a better tool, should one become available.

The cost of pets

Pets never seem that expensive if all you use to quantify their costs is the server bill at the end of the month.  Be in tune with the human and emotional costs.  Be mindful of the business risk.

  • There’s a human cost associated with performing the midnight security updates.
  • There’s a risk cost associated with running a production server that only one person can ‘touch’.
  • There’s a massive risk cost associated with human error during planned (or unplanned) maintenance and one-offs.
  • There’s a risk cost associated with failing to patch and properly control a fleet of pets.

Sometimes identifying pets and converting them to cattle is an unpleasant process, especially for the owners of those systems.  Be communicative and understanding, and always offer to help during every step of the way.

That’s all

Thanks for sticking with me, I know this post was a long one.  If you have any questions, thoughts, or comments, feel free to hit me up or comment below.

An introduction to Rancher 2.0


What is Rancher 2.0?

For those who may not be familiar with it, Rancher 2.0 is an open-source management platform for Kubernetes. Here’s the relevant bits of their elevator pitch:

Rancher centrally manages multiple Kubernetes clusters. Rancher can provision and manage cloud Kubernetes services like GKE, EKS, and AKS or import existing clusters. Rancher implements centralized authentication (GitHub, AD/LDAP, SAML, etc.) across RKE or cloud Kubernetes services.

Rancher offers an intuitive UI, enabling users to run containers without learning all Kubernetes concepts up-front.

It’s important to know that Rancher enhances, but does not modify, the core concepts of Kubernetes.  You can think of Rancher as a sort of abstraction layer, through which you can interface with all of your Kubernetes clusters.  If you simply removed Rancher, everything in your clusters would continue merrily along as if nothing had changed (though management of those clusters would become a significant burden).

This post is intended to step you through the basics of Rancher 2.0 use, and assumes that you’ve never seen it before, or are just getting started on it.  If you like what you see, feel free to install Rancher onto your own development environment and take it for a spin.  In my experience, deploying Rancher in a non-production configuration to an existing cluster takes less than three minutes.

Authentication and Authorization

Like all organizations should, my employer uses a directory service to store user information and centralize access control.  We tie that provider, Okta, into Rancher, and use it to authenticate.  See my previous blog post for details.

Screen Shot 2018-09-17 at 9.23.24 AM.png

After clicking ‘Log In with adfs’, we are greeted by the Rancher UI.

Screen Shot 2018-09-17 at 9.24.18 AM.png

We are currently in Rancher’s ‘global’ context, meaning that while we have authenticated to Rancher, we haven’t selected any given cluster to operate against.

Rancher has a robust role-based access control (RBAC) architecture, which can be used to segment Kubernetes clusters and workloads from each other, and also from human and service accounts.  This means that while you might be able to only see one Kubernetes cluster in Rancher, it might be managing another ten away from your view.

At my employer, this means that we can have several clusters, each with very different requirements for security and confidentiality, all under the same Rancher install and configured with the same Identity Provider, Okta.

s2FiJ9aiEU_3-i-RGKjapEA.png

Interacting With a Cluster

From the Rancher UI’s landing page, we’ll select our ‘inf-dev’ cluster to explore.

Screen Shot 2018-09-17 at 9.25.07 AM.png

This landing page shows us our worker node utilization and the health of critical internal services, like our container scheduler.  The most important thing on this screen, however, is the ‘Launch kubectl’ button on the top-right.

Using kubectl across multiple different Kubernetes environments is a nightmare.  It usually requires several config files and changes to an environment variable. When you are running on Amazon’s EKS solution like we are, it gets even more complicated because you also need to be running a properly-configured setup to interact with AWS’ IAM layer.

Gross.

With Rancher, things are much easier.  Clicking the ‘Launch kubectl’ button drops you into a Ubuntu 18.04 container, fully-configured with a ready-to-use kubectl installation.

Qg2kIJEgFy.gif

If you’re an advanced user / administrator and still need to use kubectl locally, just click the ‘Kubeconfig File’ button to download a ready-to-use configuration file to your system.

Projects and Namespaces

If we click the ‘Projects/Namespaces’ tab, we get a logical breakdown of the services running on our Kubernetes cluster.

Screen Shot 2018-09-17 at 9.46.40 AM.png

Namespaces are a logical separation of resources and virtual networks within a cluster.  From the Kubernetes project:

Kubernetes supports multiple virtual clusters backed by the same physical cluster. These virtual clusters are called namespaces.

Rancher also provides the concept of projects, which is a way to group namespaces together and apply RBAC policies to them consistently.  For now, our organization does not plan to make use of the projects feature, so the default project, named ‘Default’, is simply a 1:1 mapping to the default namespace.

If we click the ‘Project: default’ link, we can jump into our production cluster’s configured services and see what’s running from inside the ‘Workloads’ view.

Screen Shot 2018-09-17 at 9.48.39 AM.png

Managing Services

Let’s select a service from the Workloads page.  For this walk-through, I’ll choose the ‘nats-nats’ service.

Screen Shot 2018-09-17 at 9.48.56 AM.png

We are provided the list of pods running our service, as well as other accordion boxes which can help us understand our service’s configuration, such as its environment variables.  Rancher supports granting view-only access to groups as needed, so even in a production environment, we can help non-admins understand how a service is configured.  Best of all, because Kubernetes uses a special data type for secrets, Rancher will not disclose the values of secrets to users with view-only permissions, even if those secrets are injected into the container through environment variables.

Screen Shot 2018-09-17 at 9.49.29 AM.png

One of my favorite features of Rancher is the ability to tail logs from stdout/stderr in real-time.  While you should absolutely not rely on this for day-to-day log analysis, it can be extremely handy for debugging / playing around with your service in a development cluster in real-time.

If you have admin-level access, Rancher also provides the ability to jump into a shell on any of the running containers, instantly.

Screen Shot 2018-09-17 at 9.49.25 AM.png

Screen Shot 2018-09-17 at 9.50.36 AM.png

Just like the real-time log tailing, the ability to execute a shell within a running container can be extremely handy for debugging or manipulating your service in a development cluster in real-time.

Managing Ingress

We’ve got our running workloads, but we need to manipulate our Ingress so that traffic can reach our containers.   Click the ‘Load Balancing’ tab to view all defined ingress points in our Kubernetes namespaces.

Screen Shot 2018-09-17 at 9.54.52 AM.png

From here, we can quickly see and understand what hostnames are configured, and how traffic will be segmented based on path prefixes in request URLs (“path-based routing”).

With Rancher, adding or modifying these Ingress configurations is quite simple, and is less confusing (and less error-prone) than using the YAML-based configurations required by ‘stock’ Kubernetes.

Screen Shot 2018-09-17 at 9.57.12 AM.png

Take It For A Spin!

Rancher 2.0 helps fill a few remaining gaps in the Kubernetes ecosystem, and makes cluster management a breeze.  With both Rancher and Kubernetes development moving forward at breakneck speeds, I can’t wait to see what the future holds for both of these platforms.

That’s all for now, so go install Rancher and get started!

Using Okta (and other SAML IdPs) with Rancher 2.0


Background

At the time of this post’s writing, Rancher (an open-source kubernetes cluster manager) v2.0.7 has just landed, and it includes SAML 2.0 support for Ping Identity and Active Directory Federation Services (AD FS).  This development comes at the perfect time, as my organization is evaluating whether or not to use Rancher for our production workloads, and we are firm believers in federated identity management through our IdP provider, Okta.

But wait! Why just Ping Identity and AD FS? Isn’t that kind of unusual, given that SAML 2.0 is a standard? Is there something specific to these two implementations?

The short answer is, thankfully, no.  After reviewing the relevant portions of the codebase, I can safely say it’s just vanilla SAML.  I assume the Rancher team just started with Ping Identity and AD FS because they were the two top requested providers, which I’m sure they took the time to sit down and test against, write up specific integration instructions, screenshots, and so on.  But I want to use Okta anyway, dang it!  So, let’s go do that.

Configure Rancher

Log into Rancher with an existing local administrator account (the default is, unsurprisingly, ‘admin’).  From the ‘global’ context, head over to Security -> Authentication, and select the Microsoft AD FS (yes, even though you aren’t actually going to be using AD FS for your IdP).

Screen Shot 2018-08-14 at 8.39.22 PM

Now we tell Rancher which fields to look for in the assertion, and how to map them to user attributes.  Okta allows us to specify what field names and values we send to Rancher as part of the setup process for our new SAML 2.0 app, but other IdPs may have pre-defined field names which you must adhere to. Please consult your IdP’s documentation if you have trouble.

I was confused by the ‘Rancher API Host’ field name.  After digging around the Rancher source for a bit, I realized it’s literally just the external DNS name for the Rancher service; the same address as you type into your address bar to access your Rancher install.

Screen Shot 2018-08-14 at 8.50.32 PM

Rancher’s SAML library includes support for receiving encrypted assertion responses, and appears to require that you furnish it with an RSA keypair for this activity.  As a brief aside, I will actually not be enabling the encryption on the IdP side because I think that’s overkill in this use-case (and, frankly, I couldn’t get Okta to play nice with it either).  Let’s generate the necessary certificate and key:

openssl req -x509 -newkey rsa:2048 -keyout rancher_sp.key -out rancher_sp.cert -days 3650 -nodes -subj "/CN=rancher.example.com"

Grab the contents of the rancher_sp.key and rancher_sp.cert files and place them into the appropriate configuration blocks (or upload the files from your computer, either way):

Screen Shot 2018-08-14 at 8.49.17 PM.png

Leave that all open in a browser tab; we’ll come back to it shortly.  For now, though, we need to go over to Okta.

Configure Okta (or some other IdP)

The rest of these instructions will be Okta-specific, but the concepts are not. Reach out to your IdP provider if you need assistance.

Create a new SAML 2.0 application:

Screen Shot 2018-08-14 at 8.58.13 PM.png

Give it a name and proceed to the SAML settings page.

Single sign on URL:
https://rancher.example.com/v1-saml/adfs/saml/acs

Audience URI (SP Entity ID) (aka Audience Restriction):
https://rancher.example.com/v1-saml/adfs/saml/metadata

You should be able to leave the rest of the general options alone.  Create two custom attribute statements.  These are how we’ll tell Rancher what username and display name to use.

First attribute statement:
Name: userName
Name Format: Unspecified
Value: user.username

Second attribute statement:
Name: displayName
Name Format: Unspecified
Value: user.firstName + " " + user.lastName

If you haven’t guessed it by now, the user.* declarations are an expression syntax that Okta provides.  If you need to use some other values for username/display name, feel free customize the fields Okta uses to fill in these values:
https://developer.okta.com/reference/okta_expression_language/#okta-user-profile

Create a group attribute statement, which will send all the groups you are a member of to Rancher, which will in turn be used to map groups to Rancher roles:

Name: groups
Name Format: Unspecified
Filter: Regex
Value: .*
^ (that's period-asterisk, the regex expression for "match all")

Perhaps you don’t want to send all your group information to your Rancher install; maybe you have a lot of groups not used for authorization for some reason?  If that’s the case, you can create your own regular expression to try and ensure you get a tighter match.  Do not attempt to restrict access to a given set of groups by using this filter though, as we’ll do that in Rancher directly in a much more user-friendly way.

Double-check that your options look like these options and proceed.

screencapture-workiva-admin-oktapreview-admin-apps-saml-wizard-create-2018-08-14-21_03_11.png

Save your new connector.  Once saving is complete, you’ll need to click the ‘Sign-On’ tab and select ‘View Setup Instructions’:

Screen Shot 2018-08-14 at 9.22.26 PM.png

Grab the IdP metadata and put it on your clipboard:

screen-shot-2018-08-07-at-2-24-29-pm.png

We’ll need it during the next step.

Now before you leave Okta, you need to complete one final task.  Make sure you go into the newly-created Rancher SAML 2.0 app and assign it to yourself and anyone else you want to bestow crushing responsibility for production systems onto.  If you forget this step, the final steps required later in Rancher’s configuration will fail.

Back to Rancher for the Final Steps

Head back over to that Rancher tab we left open and paste the IdP metadata into the ‘Metadata XML’ box:

Screen Shot 2018-08-14 at 9.28.42 PM

Alright, in theory, that’s it.  Click the ‘Authenticate with AD FS’ button and say a little prayer.  Quick note: if nothing seems to happen, it’s likely because your browser blocked the pop-up.  Make sure you disable the pop-up blocker for your Rancher domain and whitelist it in any other extensions you might utilize.

Proceed to sign in to your Okta account if prompted, though it’s likely you are already signed in from the previous steps.  If you did everything correctly, you’ll be dropped back to the Rancher authentication page, only this time with some information about your SAML settings.  Additionally, hovering over your user icon on the top-right should yield your name and your Okta username.  Nifty!

Screen Shot 2018-08-14 at 9.43.21 PM.png

Technically you are done!  That said, I would recommend making one more tweak by changing the Site Access settings block to ‘Restrict access to only Authorized Users and Organizations’.  This action will disable login from any other non-SAML source, including existing local users, unless the user is listed under the ‘Authorized Users and Organizations’ section, or you’ve explicitly added one of the groups (which are brought over from Okta) that a SAML user is part of.  Quick note: Rancher will only know about groups you are a part of (the ones it received from your SAML assertion), which is unfortunately somewhat limiting.

Screen Shot 2018-08-14 at 9.49.14 PM.png

Using Groups for RBAC

By default, your SAML users will receive no access to anything at all.  When they log in, they’ll see no clusters.  Let’s change that!

Select a cluster -> Members -> Add Member.

OlgS3FmPR2.gif

Now your users can see the cluster, but none of the Projects or pods inside.  Time to repeat this process by authorizing a group to a particular project:

cWADmDIuxh.gif

Conclusion

Rancher is a powerful tool for managing Kubernetes clusters, and the recently-landed SAML 2.0 support (with group awareness!) is a major step forward in terms of making the solution enterprise-ready.  I’ve enjoyed working with the software and can’t wait to see where the project goes.

P.S. – if anyone from Rancher is reading this, you have my permission to re-use and re-distribute any screenshots or text in this blog post in any of your internal or customer-facing documentation/blog posts/wiki pages, should you find it useful.